In our day to day jobs we find ourselves lugging around more and more hardware; pda, laptop, cell phone, and sometimes even hubs. Why do we carry a hub around when sometimes all we need is a link on our ethernet cards so that all the applications on the system work. Yes, yes, I know you could setup a loopback software adapter. But if you are looking to have the system configured as close to the real setup as possible and you don’t want to carry a hub around, just to get a link light on your NIC. Consider building yourself a loopback cable. |
What is a loopback cable?
A loopback cable redirects the output back into itself. This effectively gives the NIC the impression that it is communicating on a network, since its able to transmit and receive communications.
How to build the loopback cable simplified?
If you are handy with building ethernet cables, the simple explanation is;
1. Redirect Pin 1 to Pin 3 and Pin 2 to Pin 6.
2. Make sure you create tight twists to account for signal interference at such a short length. |
How to build a loopback cable illustrated?
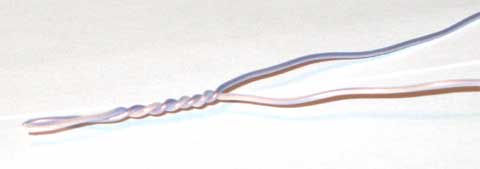
Step 1. Get a pair of approximately 4 inches in length of cat 5 cable.
 |
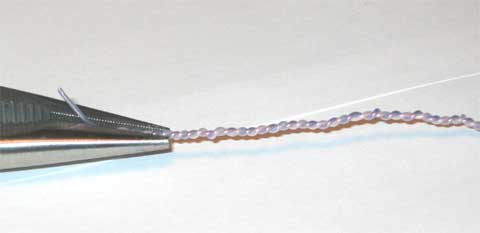
Step 2. Leave approximately 1/2 inch at end and start twisting, very tightly.

Note: If your fingers start to hurt, you may want to use a tool to help with the twisting. Notice how tightly wound the cable is. If the twists are not close enough the loopback will not work. Please twist to match picture. 
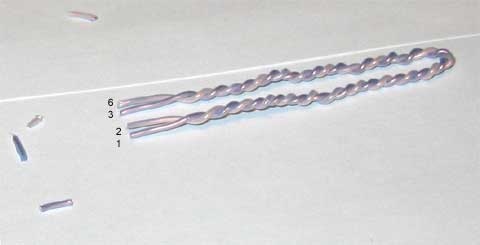
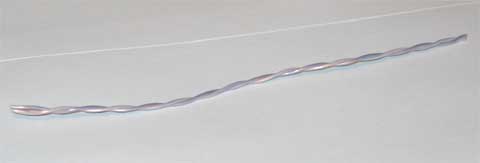
Step 3. After twisting is done, fold cable and line up the ends. Cut if you must to line up cables. Line up the cables so that the cables are in the proper alignment to prepare for insertion into RJ-45 end.

Step 4: Insert cable into RJ-45 end. (do not crimp yet.) Remember, 1236 pins.
Step 5. Insert plastic tubing over the wire and into the RJ-45 end. Now crimp the end with a crimping tool.
Note: When you first plug in the loopback cable, wait approximately 10 seconds to get a link light. No more carrying around a hub just to get a link light.
Enjoy!


